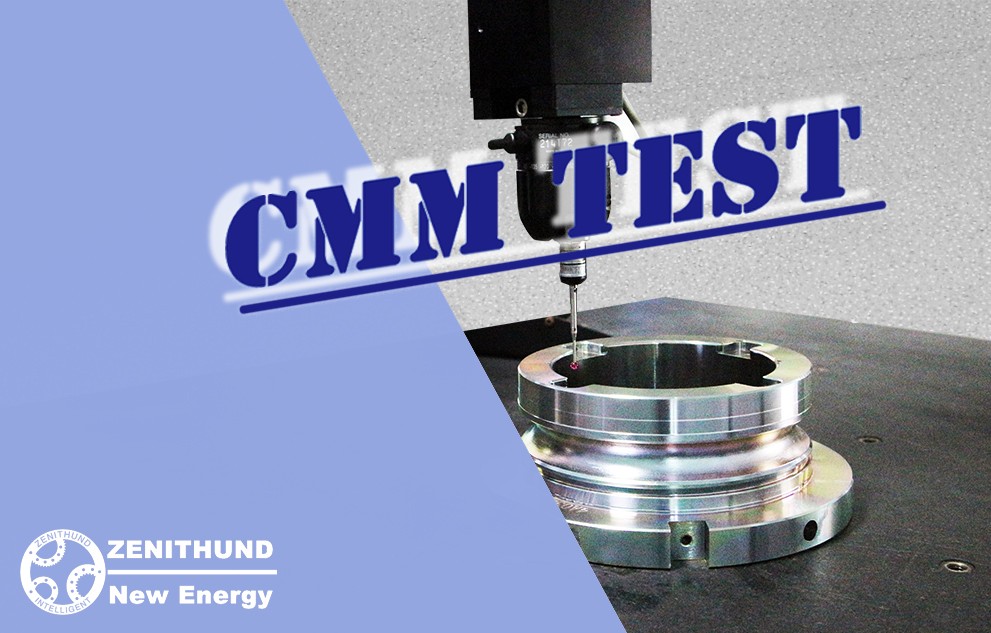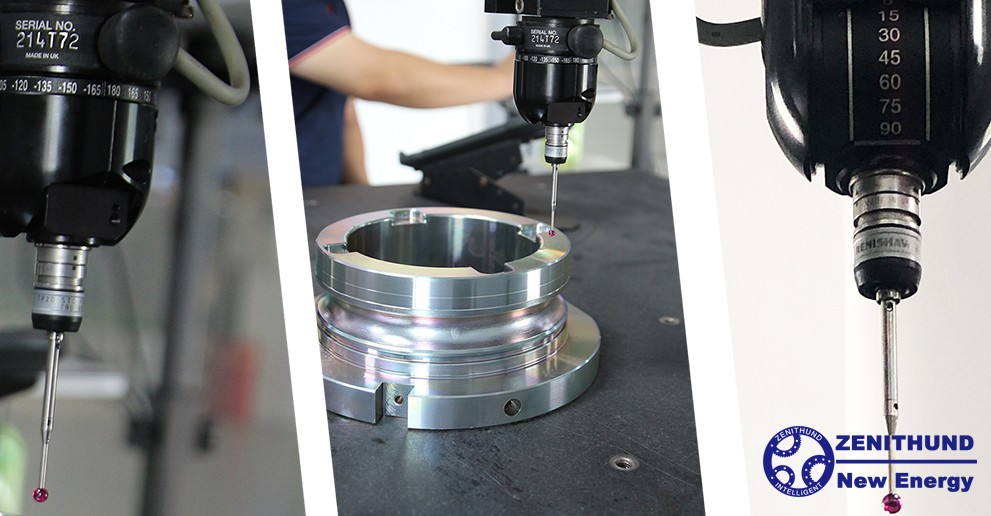


The three-coordinate measuring instrument in the bearing industry is an instrument that obtains the geometric size and shape of the bearing by means of non-contact measurement methods such as laser scanning, video microscope or X-ray fluorescence spectrometer. The specific measurement steps are as follows:
Input the measurement parameters of the bearing, such as measurement range, measurement resolution, etc., into the computer of the three-coordinate measuring instrument. Place the bearing on the table of the coordinate measuring machine, and set the coordinate origin and measurement axis. Use the measuring head of the three-coordinate measuring machine to measure the bearing by means of laser scanning, video microscope or X-ray fluorescence spectrometer to obtain the geometric size and shape of the bearing.
Input the measurement data into the computer, use the measurement software to process and analyze the data, and generate the measurement report.
Our company uses a three-coordinate measuring instrument to measure the slewing bearing. The following is the measurement report:
1. Purpose of measurement
The purpose of this measurement is to measure the geometric size and shape of the slewing bearing to judge whether it meets the design requirements, so as to ensure the quality and performance of the slewing bearing.
2. Measuring instruments
The three-coordinate measuring instrument used in this measurement is XX brand, model is XX, measurement range is XX, and measurement resolution is XX.
3. Measurement steps
Preparation Phase
Before the measurement, we first conduct a visual inspection of the slewing bearing to ensure that its surface is free from dirt, scratches and other defects. At the same time, according to the design parameters of the slewing ring, we set the measurement parameters of the three-coordinate measuring instrument, such as measurement range and measurement resolution.
measurement phase
Place the slewing bearing on the workbench of the CMM, and set the coordinate origin and measurement axis. Use the measuring head of the three-coordinate measuring machine to measure the slewing bearing by means of laser scanning, video microscope or X-ray fluorescence spectrometer to obtain the geometric size and shape of the slewing bearing.
data processing stage
Input the measurement data into the computer, use measurement software for data processing and analysis, and generate measurement reports. During data processing, we performed operations such as data screening, statistics and visualization to ensure the accuracy and reliability of the measurement results.
4. Measurement results
Through the measurement of the three-coordinate measuring instrument, we obtained the geometric size and shape of the slewing bearing. The specific measurement results are as follows:
The diameter of the slewing bearing meets the design requirements.
The cylindricity of the slewing bearing meets the design requirements.
The curvature of the raceway of the slewing bearing meets the design requirements.
V. Conclusion
Through this measurement, we confirm that the geometric size and shape of the slewing bearing meet the design requirements, which ensures the quality and performance of the slewing bearing. At the same time, we also recognize the importance of measuring instruments, and will further strengthen the maintenance and maintenance of instruments to ensure the accuracy and reliability of measurement results.

Recent News
Top ranking